Virtual learning in the gardens of Elizabeth Farm
Every year the gardens and grounds of Elizabeth Farm provide visiting school students the opportunity to reflect on the past and present relationships between people and the Australian landscape.
With its rich soils, woodlands and waterways, the land around Parramatta has for thousands of years been the home of the Burramattagal of the Darug Nation who sustainably managed and cultivated the landscape and its resources. Following the arrival of European colonists in 1788 and their subsequent struggles to cultivate successful crops in Sydney, colonists were drawn to the Parramatta region’s rich resources, clearing the land to make way for European style farmland and agriculture to serve as the colony’s ‘food bowl’, dispossessing the Burramattagal of their land and altering their way of life in the process.
This month Elizabeth Farm will host students from across the country as they tune in to a live online event, Plant your History at Elizabeth Farm. Against the property’s leafy backdrop, students will be examining both the plants of Elizabeth Macarthur’s kitchen garden and plants native to Darug Country, considering the different ways these groups of people have used the land. Tapping into the knowledge of Uncle Fred of Fred’s Bush Tucker, students will discover the uses of some local native plants, like Lomandra longifolia, also known as Spiny-headed Mat-rush or basket grass.
If you live in Sydney you are probably familiar with the tufts of long, flat leaves of the lomandra. A hardy and drought tolerant plant, lomandra is sometimes described as the ‘corner shop’ in many Aboriginal cultures because it is such a vital source of food and other resources that are essential for survival’.1 If you pull one of the leaves from the ground you’ll see a white base, which can be chewed on for hydration and nourishment and has a pea or bean like flavour. The seeds can also be dried and ground up, and mixed with water to make a bread or damper (please be advised we do not recommend trying these foods unless you are accompanied by someone who is well trained in this field and can safely identify the plants!) As well as being a food source, the leaves of the lomandra are also incredibly strong and can be used to make fibres for stringing and weaving. These fibres may be woven into a range of useful objects, including bags, baskets and eel traps. This plant was used not only by Darug people, but by Aboriginal people in many parts of Australia.
Elizabeth Macarthur was fond of native plants, or ‘dear evergreens’ as she called them, and liked to juxtapose them with her European plantings. Today, native plants can be found growing along the edges of Elizabeth Farm, a suggestion of the bushland that once bordered the edges of the Macarthur’s gardens and reminder of the Indigenous landscape that underlies the homestead. In a nod to the installation Healing Land, Remembering Country by Kuku Yalanji artist Tony Albert which currently calls Elizabeth Farm home, students joining the live education event will create their own recycled seeded paper using the seeds of native plants and take part in a ‘memory exchange’ activity. On their seeded paper students will record a positive memory, or something they have learned during their experience at Elizabeth Farm, and return it to the ground to germinate the seeds and help regenerate the landscape.
You can make seeded paper of your own by following the simple instructions below, and find out more about Healing Land, Remembering Country.
How to make recycled seeded paper
You will need:
- Scrap paper such as newspaper, egg cartons, old note paper, printer paper, tissue paper. Approximately one A4 sheet of paper per person will do.
- Water
- A tub or container
- Fly screen or similar mesh sheet
- Absorbent sponge or cloth
- Blender
- Old towel
- Native plant seeds
- Cookie cutter (optional)
- Seedling pot (optional)
- Soil or garden bed
- Water spritzer
Step 1
1. Tear your paper into small scraps. The smaller the scraps, the more easily your paper mix will blend and become nice and smooth. We’ve used recycled tissue paper gift wrap to add colour.
Steps 2-4
2. Soak your paper in a tub of water. You may want to leave it soaking for a few hours, or even overnight.
3. Place the wet paper into the blender. You can also use a stick blender with small quantities of paper – but be mindful of splashes. Add enough water to just cover the paper (perhaps one you don’t plan to use for cooking with again!) and whizz until smooth.
4. Drain the excess water from the paper mix, but keep it moist.
Steps 5-6
5. Spoon a thin layer of paper mix onto the fly screen as smoothly and evenly as you can to make a small sheet. If you want your paper to be evenly shaped, you can spoon the pulp in to a cookie cutter.
6. Sprinkle seeds on to the paper and gently press with the back of a spoon just enough to make the seeds stick. When choosing your seeds, consider where you want to plant them and what plants are native in your area.
Step 7
7. Gently press the paper with a sponge to help flatten the paper and remove excess water. If some of the seeds lift out, gently press them back in place with your fingertips. Leave to dry in a warm place. This may take a few days.
Step 8
8. Once dry, gently peel the paper from the fly screen. You can trim the edges to make the paper neater, or divide it in to smaller pieces.
Step 9
9. You can now write on your paper, using the side that was against the mesh without the seeds. On your paper, record a positive memory (students participating in the learning live event may record something they have learned during the program).
Step 10
10. To plant your seeded paper, dampen your seeded paper with a small amount of water and place in the ground or in a seedling pot. Cover your seeded paper with approximately 1cm of soil and spritz with water. You will need to keep it moist to help the seeds germinate. The best way to plant your seeds may vary depending on the seeds you chose, so be sure to check the instructions that came with your seeds.
Step 11
11. You might like to add some extra loose seeds to your pot with your seeded paper, just to be sure they grow!
Happy gardening!
This information is only a guide on bush tucker foods, MHNSW does not recommend trying these foods unless you are accompanied by someone who is well trained in this field.
Published on

Sophie Reid
Producer
Sophie is part of the MHNSW Learning Team, developing and delivering onsite and online curriculum-based programs for primary and high school students and teachers.
Plant your history
Browse all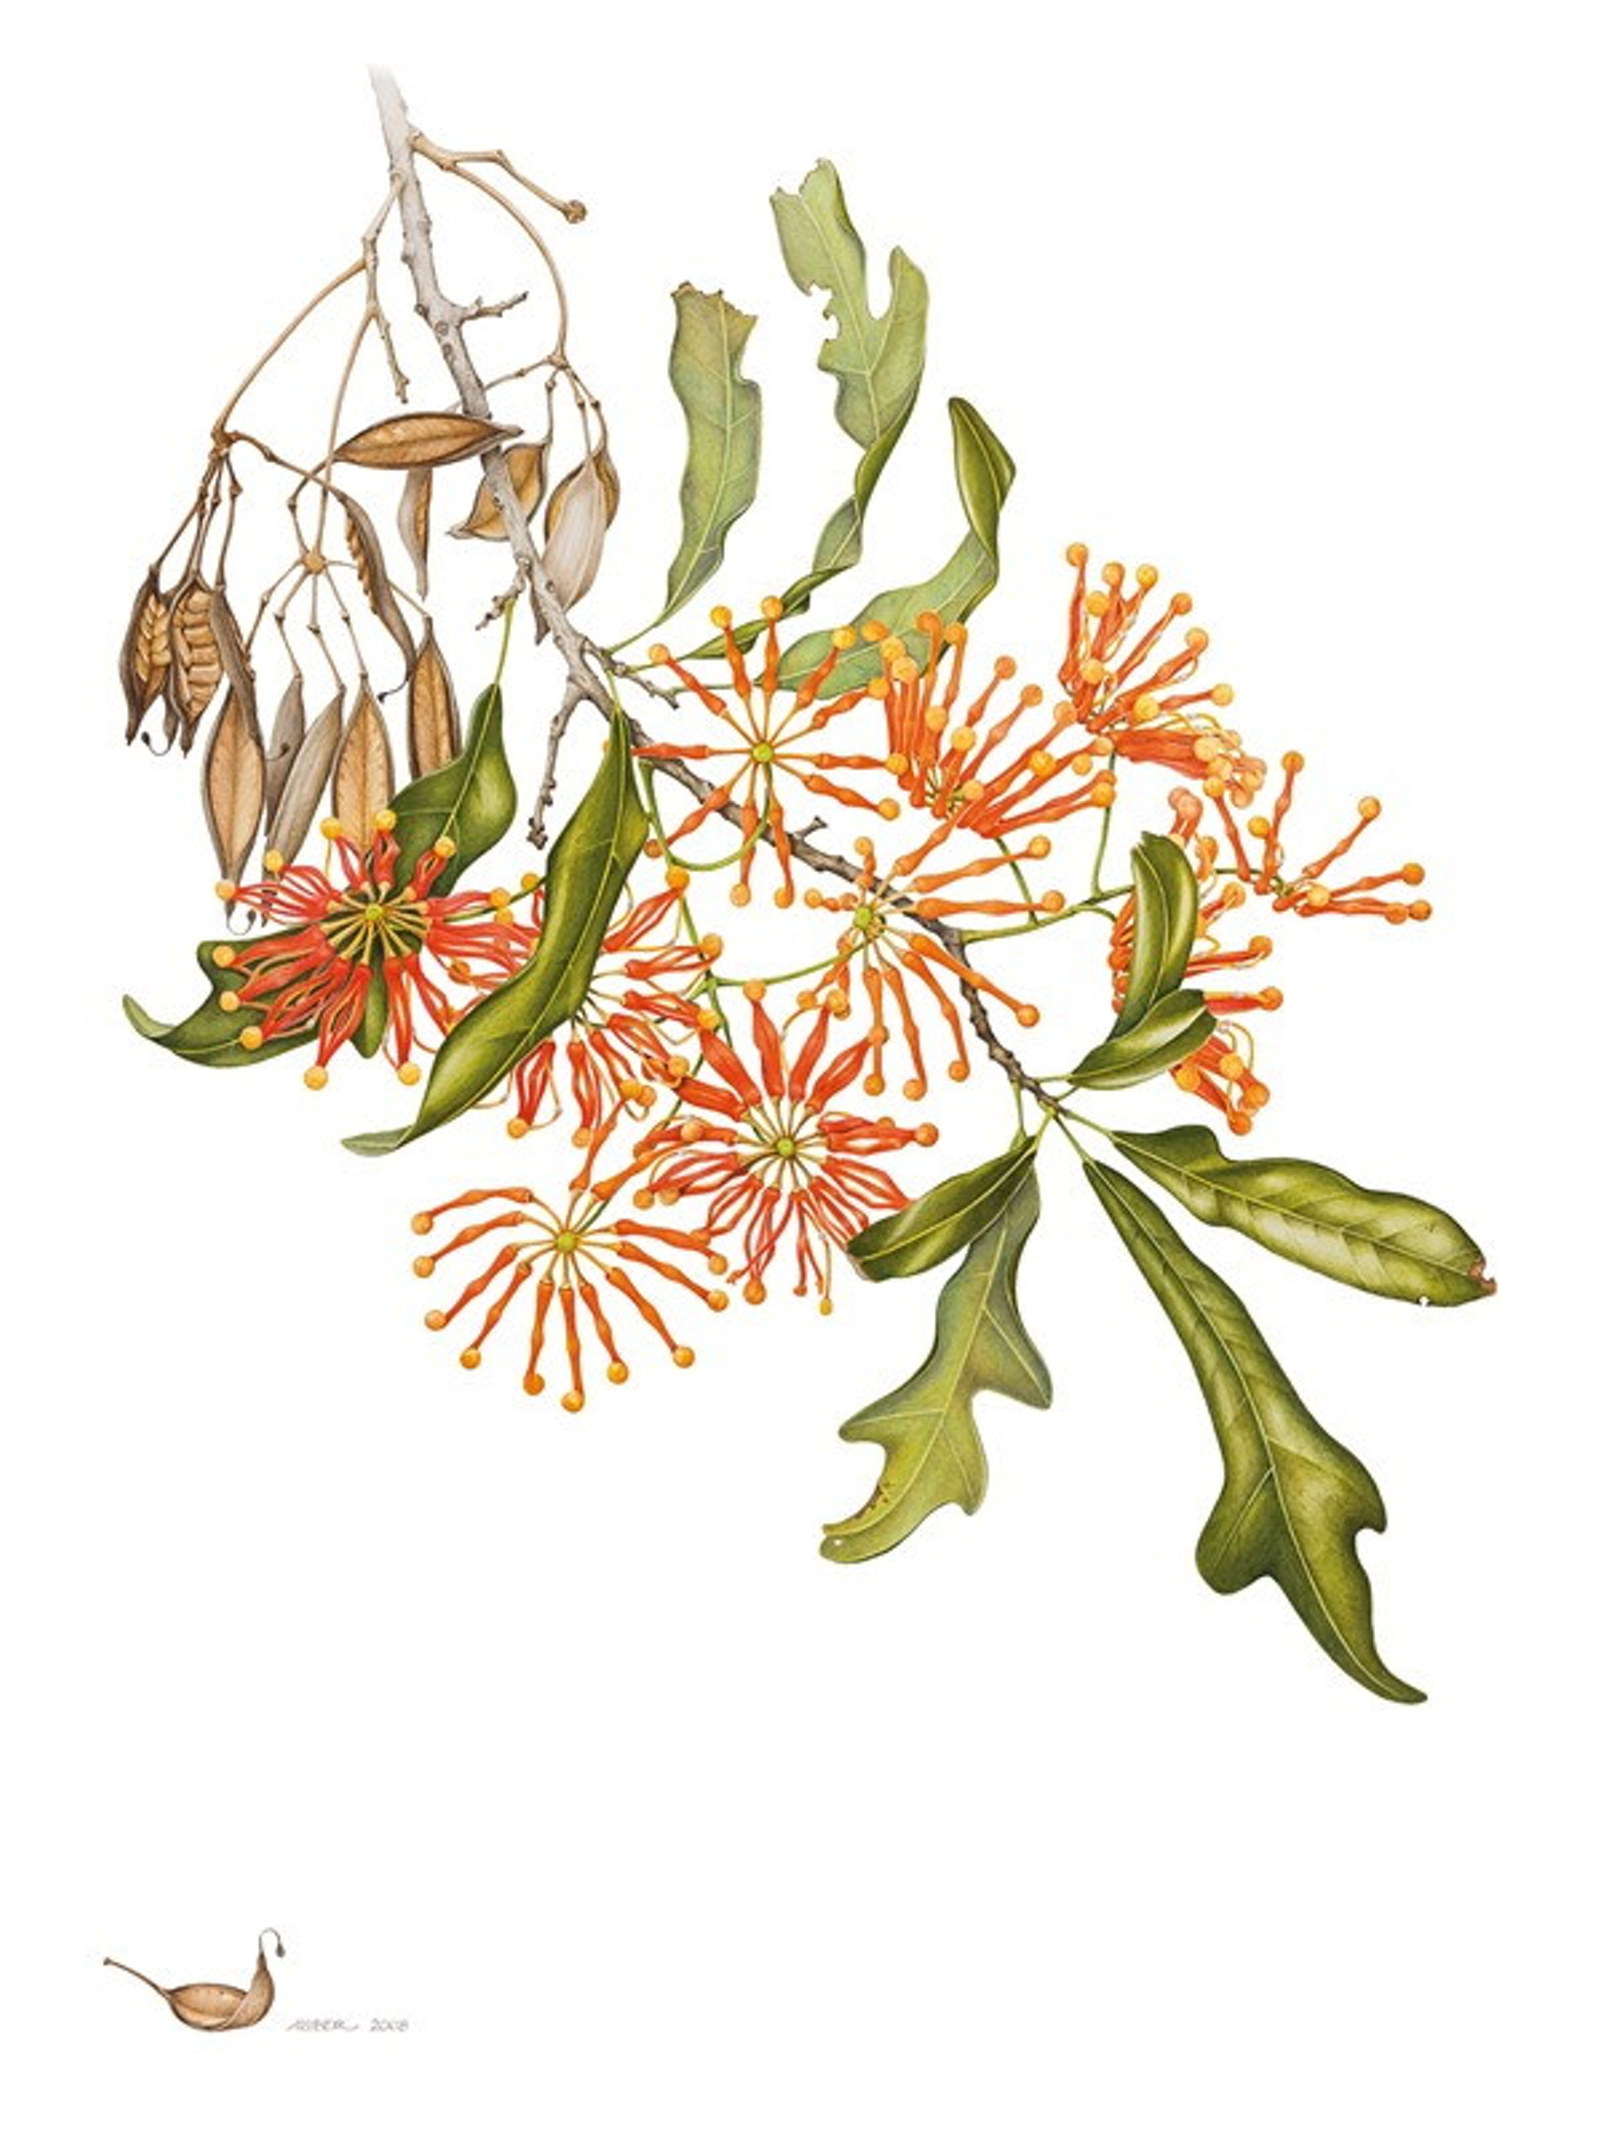
Florilegium plants
A gathering of flowers: the Florilegium collection
Finely detailed botanical artworks reveal the range of plants introduced to Sydney’s gardens over the past 200 years
Plant your history
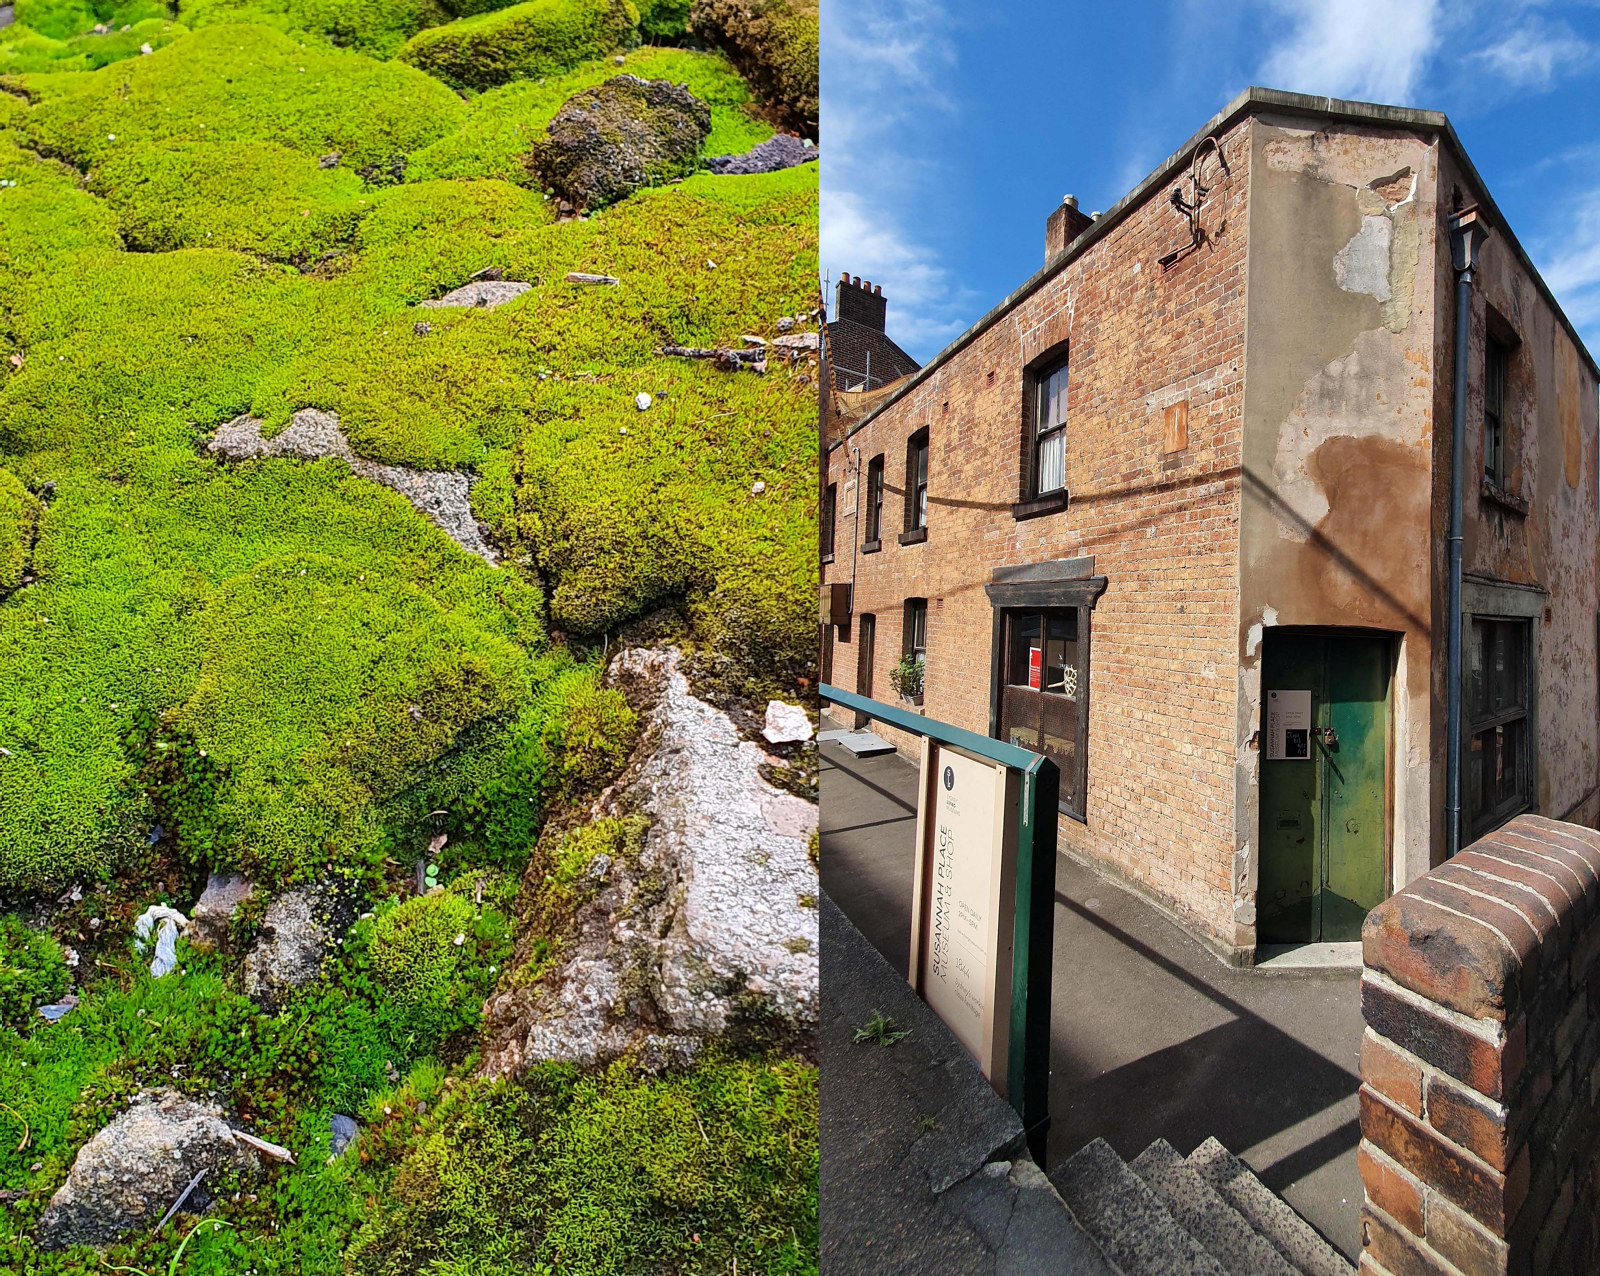
A mossy analogy for Susannah Place: small but mighty
Mosses are everywhere! They are small, mighty, unsung and inhabit the most unusual places. They can be found in all our museum outdoor spaces if one looks closely enough
Plant your history
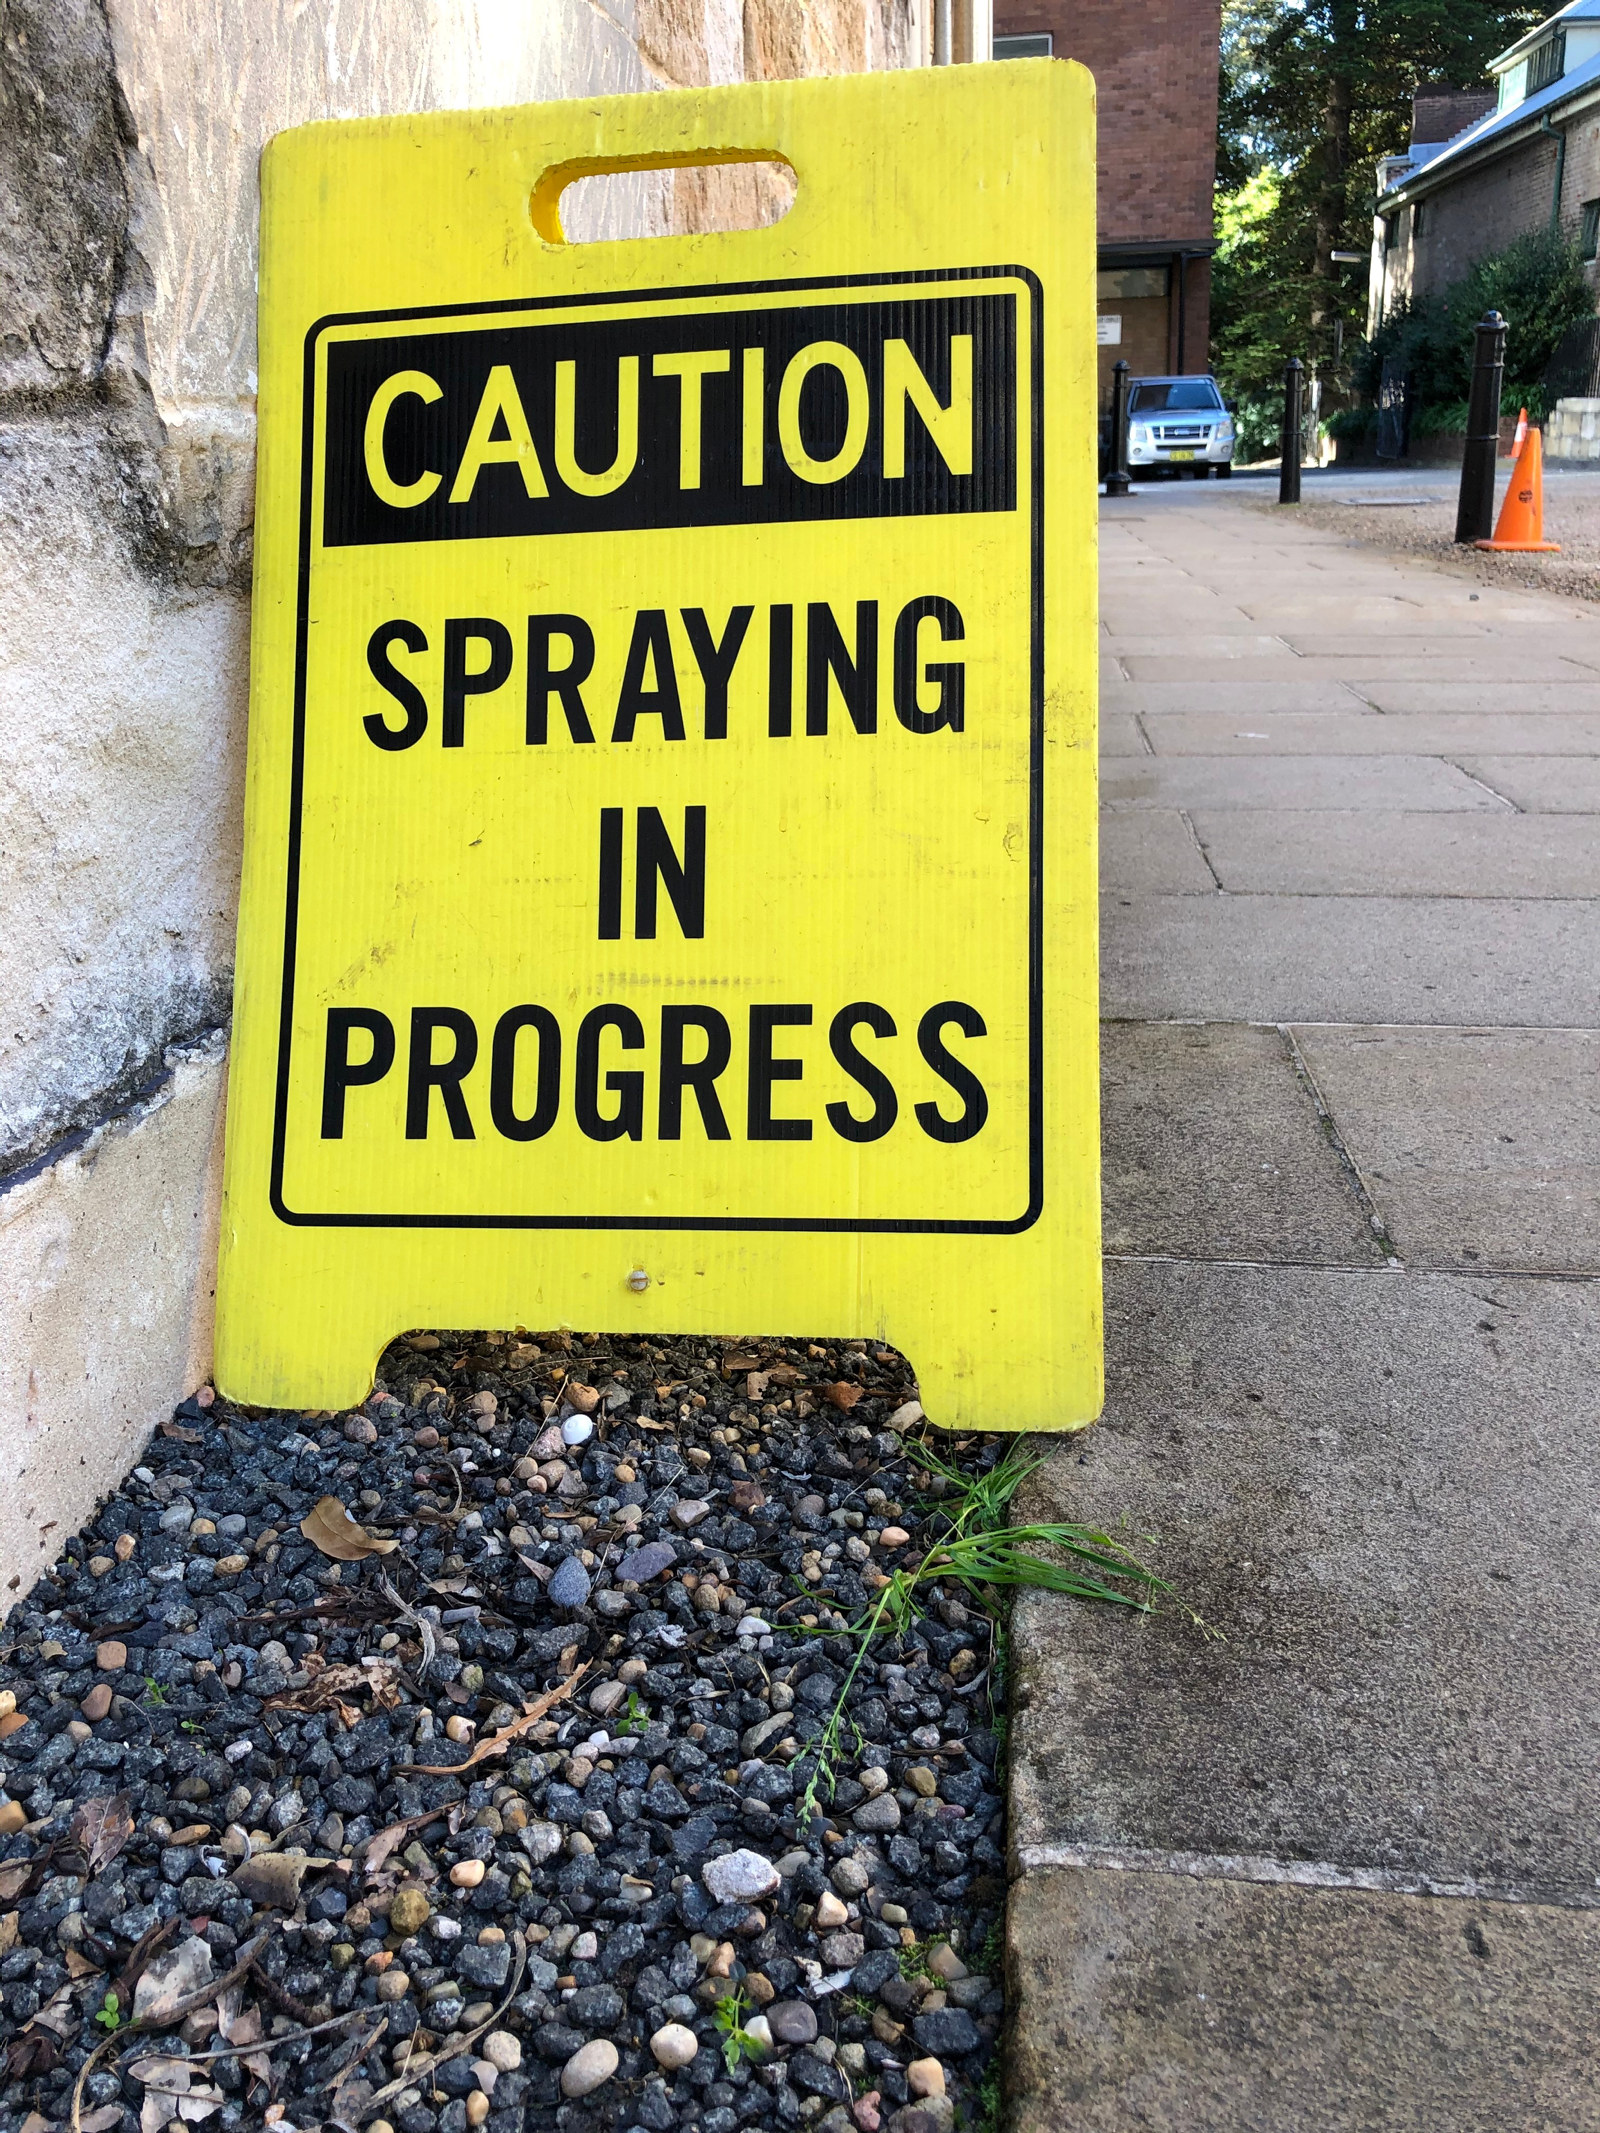
A new weapon in the war on weeds
A black and yellow sign warns me there is “Spraying in Progress”, and I wonder for a moment why no one is wearing a mask, or even gloves. But the dangerous looking mist enveloping these men is not what it seems

Plant your history
Acanthus - an apt symbol for The Mint
Look at any classical building today, anywhere in the world and chances are you will find an acanthus leaf lurking somewhere